The Complete Guide to VS Code Profiles
A step-by-step walkthrough on how to import, configure, and test your Visual Studio Code profile.
Part 1: How to Import Your Profile
Sync your extensions, settings, and shortcuts by importing a `.code-profile` file.
Quick Guide 🚀
On Windows, Right-click the download button below and select "Save Link As..." to ensure the file is saved correctly.
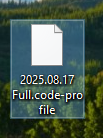
Step 1 Locate Your Profile File
First, make sure you have your VS Code profile file (`.code-profile`) ready on your computer.
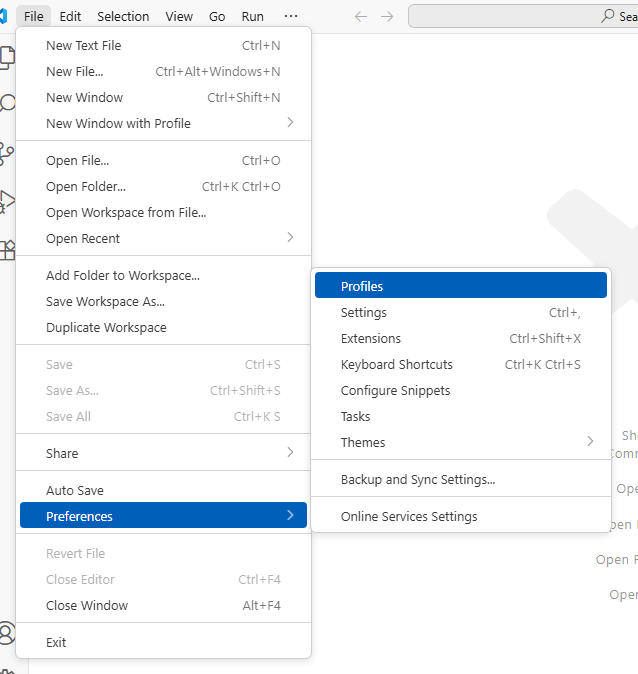
Step 2 Open Profiles Settings
In VS Code, navigate to File > Preferences > Profiles.
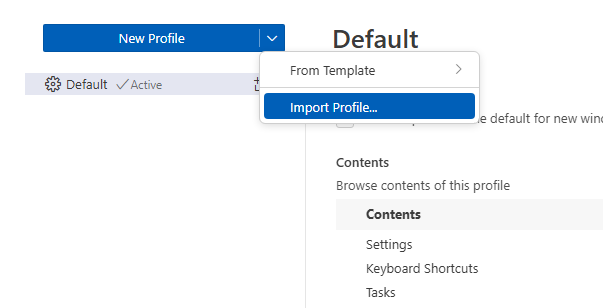
Step 3 Choose Import Profile
Click the dropdown arrow next to "New Profile" and select Import Profile....
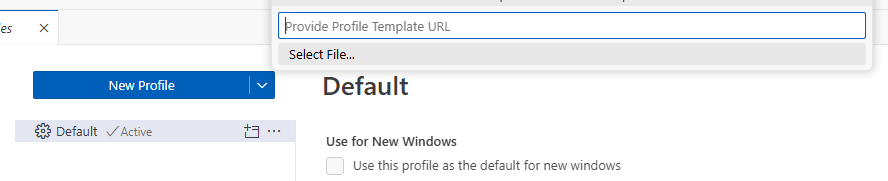
Step 4 Select the File
From the options that appear, click on Select File....
Step 5 Open Your Profile File
Navigate to your .code-profile file, select it, and click "Open".

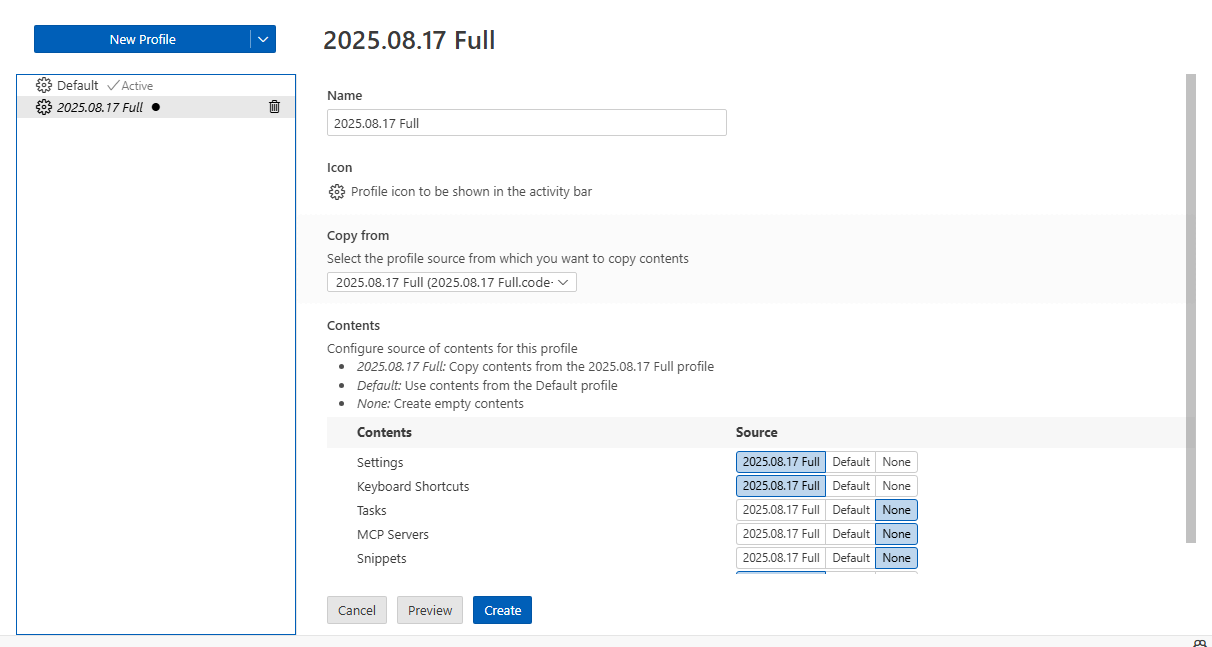
Step 6 Configure and Create
Click the "Create" button.
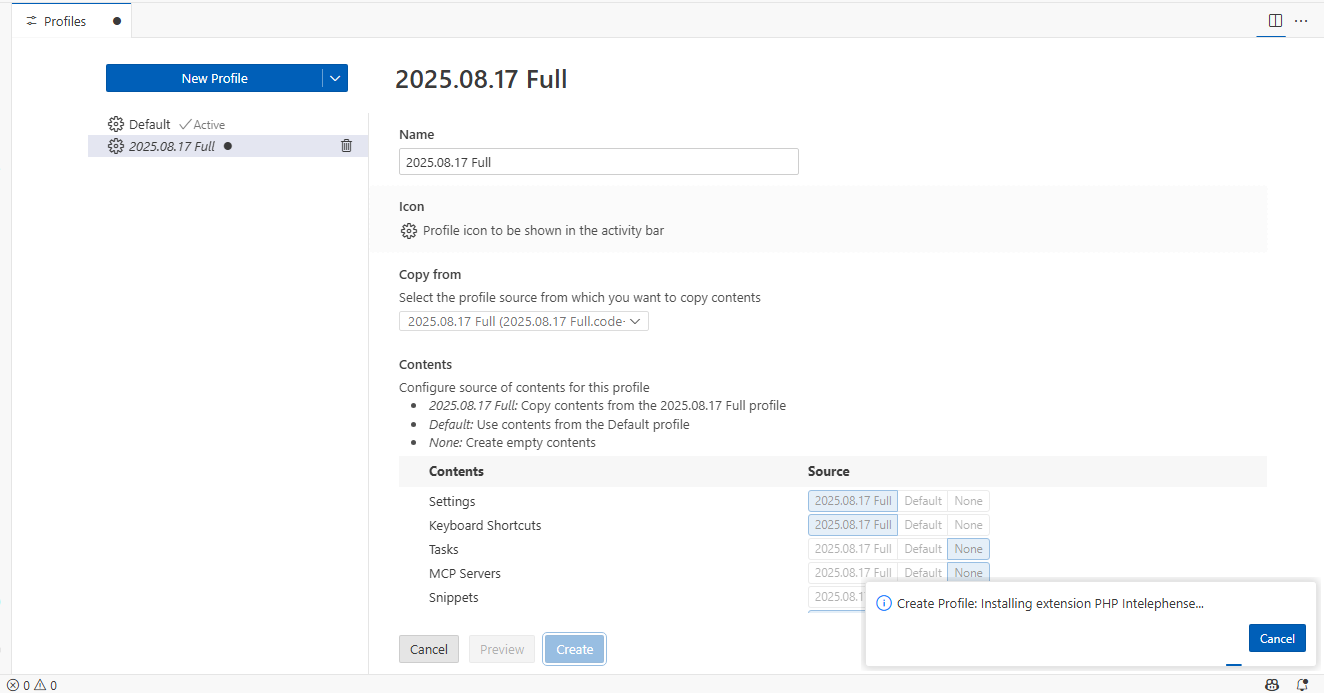
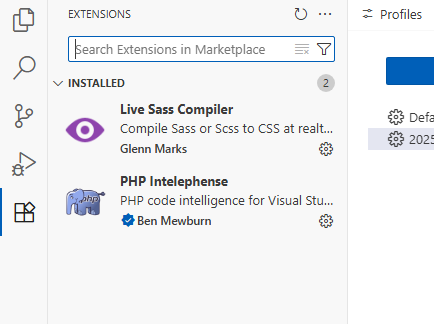
Step 7 Wait for Installation
VS Code will create the profile and install any extensions included in it.
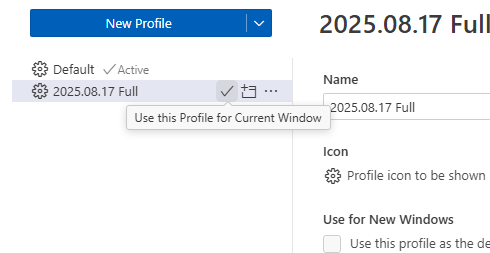
Step 8 Activate the Profile
Activate the profile by clicking the checkmark icon to "Use this Profile for Current Window".
Step 9 All Done!
Your profile is now imported and active! Your extensions and settings are ready.
Part 2: Verify Your Profile Setup
Let's quickly test some key features to ensure everything is working correctly.
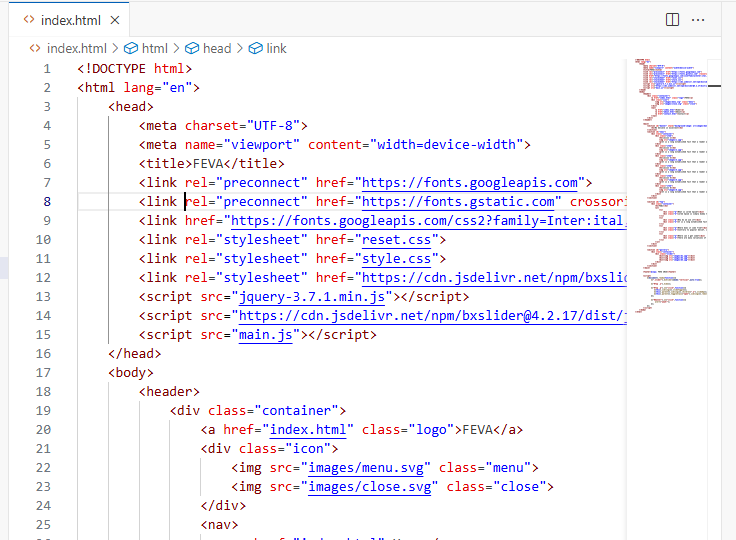
Test 1 Check Duplicate Line Shortcut
Open any code file, select a line, and press Ctrl + D. The line should be duplicated.
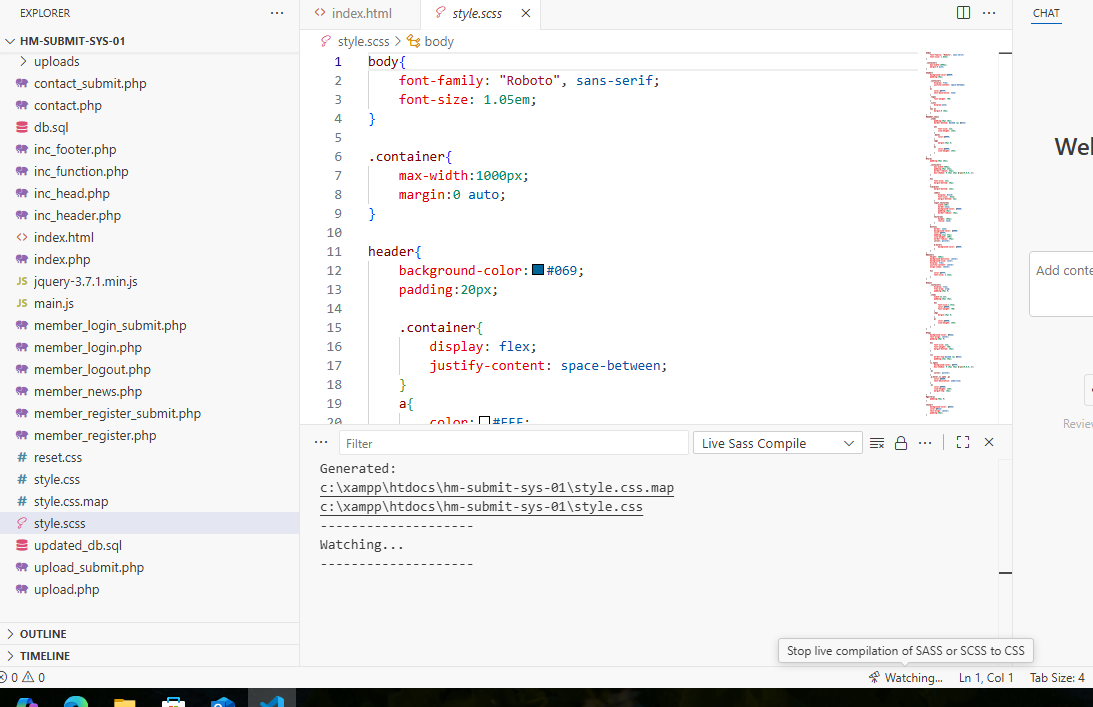
Test 2 Verify SCSS Auto-Compilation
Open a .scss file and click Watch Sass in the status bar to start auto-compiling.
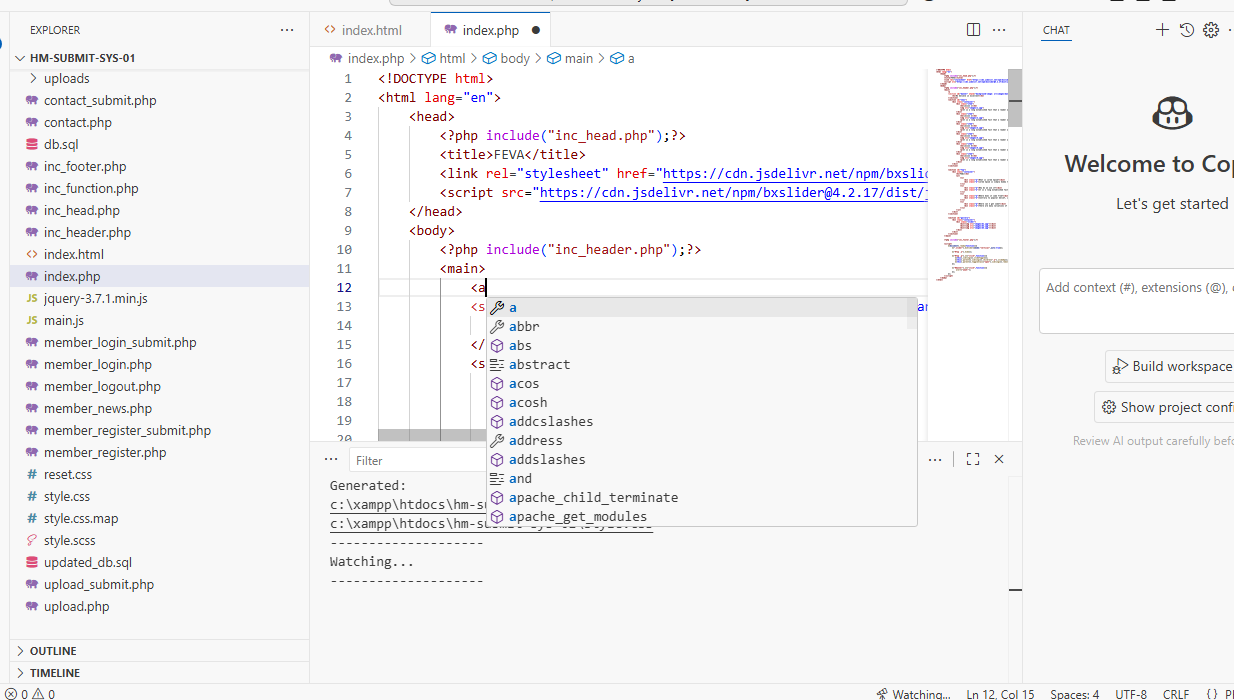
Test 3 Confirm PHP IntelliSense
In a .php file, start typing to see intelligent code suggestions and autocompletions.